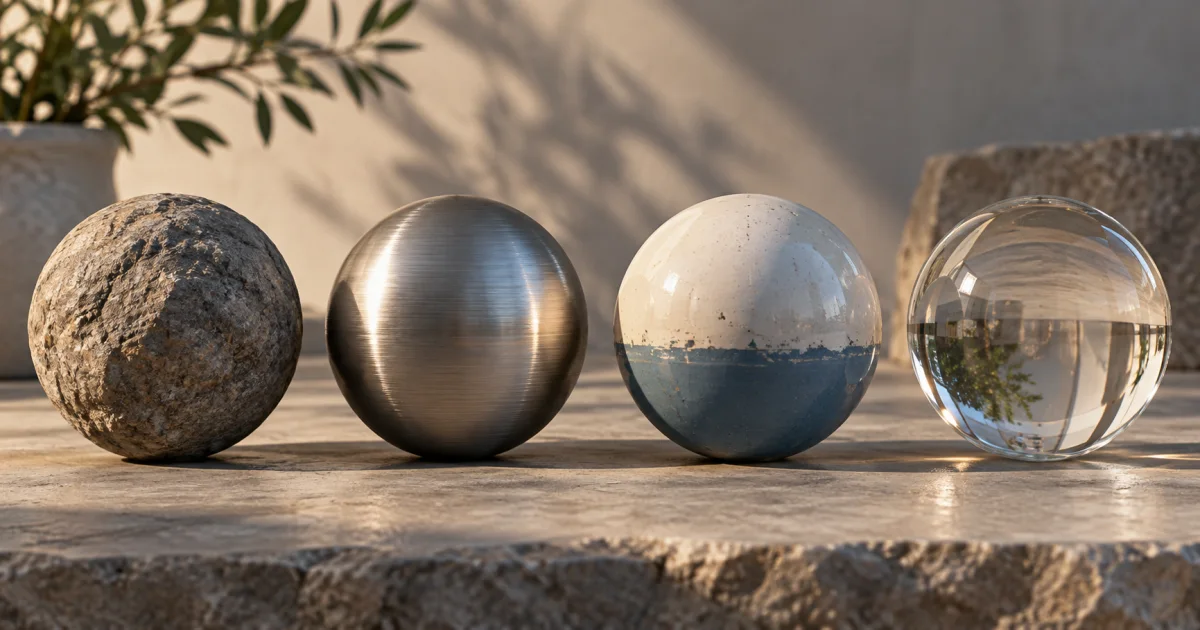
A PBR material describes how a surface responds to light. In a metallic-roughness workflow, base color, roughness, and metallic values define the main response. Normal and ambient occlusion maps add detail. A material does not need five separate texture files.
Use FindUtils’ PBR Material Previewer to inspect supported maps on simple shapes. Use your target engine for the final check. Lighting, tone mapping, color management, texture packing, and shader settings can change the result.
What Is PBR and Why Does It Matter?
Physically Based Rendering uses material and lighting models guided by physical principles. Energy conservation limits reflected energy in a non-emissive surface model. Fresnel behavior changes reflection with the viewing angle.
These principles help artists separate surface properties from a particular lighting setup. They do not guarantee a realistic image. Geometry, exposure, environment lighting, and material inputs still matter. Different renderers can use different approximations.
The Filament rendering reference explains a complete material model and its assumptions. Use such a reference when you need physical parameters, rather than treating a visual slider value as a measurement.
What transfers between tools?
The concepts transfer: base color, surface normals, roughness, metallic response, and occlusion. The exact files and settings do not always transfer unchanged. Check the channel assignment, normal convention, and color space for each texture.
For example, a roughness map cannot go unchanged into a smoothness input. A packed texture also requires the correct channel connections. A filename is useful evidence, but the shader setup determines how the engine reads it.
The 5 Core PBR Texture Maps Explained
The following five map types are common inputs to a metallic-roughness material. They are not five mandatory files. A constant can replace a map when the property is uniform.
Albedo (Base Color)
The albedo map defines the pure color of a surface with zero lighting, shadow, or reflection information baked in. Think of it as the color a surface would have under perfectly flat, shadowless illumination. For non-metals, this is the diffuse color. For metals, this is the reflection tint color.
Key rules:
- No baked lighting. No highlights, no shadows, no ambient occlusion. Flat color only.
- Use the correct color space. An sRGB byte value is not a linear reflectance percentage. Use measured references and the target renderer’s color management for physical calibration.
- Metals use reflectance color. Match a documented metal reference under a defined color space. A convenient RGB swatch is not a universal physical value.
Keep lighting separate from base color. Inspect the map with a neutral display setup before you decide whether a dark region is pigment or a baked shadow.
Normal Map
A normal map encodes surface detail as RGB color data, simulating bumps, scratches, grooves, and fine geometry without adding polygons to the mesh. In a common tangent-space map, RGB channels encode the local X, Y, and Z components after remapping. A normal near the surface’s outward tangent-space direction gives the familiar blue-purple color. Other normal representations exist.
OpenGL vs DirectX: The green channel is inverted between these two conventions. OpenGL normal maps (used in Blender, Three.js) have the Y axis pointing up. DirectX normal maps (used in Unreal Engine, CryEngine) have Y pointing down. Using the wrong convention makes surfaces look like they have inverted bumps. Check which format your engine expects.
Normal maps are where most surface detail comes from in game art. A brick wall might have only 4 polygons for its flat plane, but the normal map makes every brick edge, mortar groove, and surface chip visible under dynamic lighting.
Roughness Map
The roughness map is a grayscale texture that controls how blurry or sharp reflections appear on the surface. White (value 1.0) means fully rough -- reflections are completely scattered, producing a matte finish. Black (value 0.0) means perfectly smooth -- reflections are mirror-sharp.
Illustrative roughness starting points, not measured material constants:
- Mirror / chrome: 0.05-0.15
- Polished metal: 0.15-0.30
- Glossy plastic: 0.25-0.40
- Wood (varnished): 0.35-0.50
- Concrete: 0.60-0.80
- Rough stone / fabric: 0.75-0.95
Roughness depends on the surface and the renderer’s parameterization. Values near either end are not automatically wrong. Add variation only when the reference surface supports it.
Metallic Map
The metallic parameter distinguishes dielectric and metal responses. Use 0 for a pure dielectric area and 1 for exposed metal. Intermediate values can describe a mixed pixel or blended surface. Paint over metal usually behaves as the visible paint layer.
Metals and non-metals reflect light fundamentally differently:
- Metals absorb almost all refracted light and reflect environment color tinted by their base color. Their albedo map defines the reflection color, not a diffuse color.
- Dielectrics can reflect, absorb, transmit, and scatter light. The visible response depends on the material model. A simple opaque shader does not describe glass or every non-metal surface.
A middle value is a model blend, not a new element that is literally half metal. Check what the pixel represents before you force the map to black and white.
Ambient Occlusion (AO)
The ambient occlusion map is a grayscale texture that darkens areas where ambient light would naturally be occluded -- crevices, tight corners, and recessed areas. White means fully exposed to ambient light, and black means fully occluded.
AO approximates occlusion of ambient illumination. It is not a replacement for geometric contact shadows, and a material can be valid without an AO texture. You can bake it from geometry or generate it with a suitable authoring tool.
Important: AO affects only indirect/ambient lighting, not direct light sources. Some engines apply AO to the entire lighting pipeline (which is technically incorrect), while others only apply it to ambient and image-based lighting. Know how your target engine handles AO to avoid over-darkening.
Metallic vs Specular Workflow Comparison
Metallic-roughness and specular-glossiness describe surface reflection with different parameters. Select the workflow required by your target shader and export preset.
| Property | Metallic-roughness | Specular-glossiness |
|---|---|---|
| Main color input | Base color | Diffuse color |
| Reflection input | Metallic value and base color | Specular reflectance color |
| Surface input | Roughness | Glossiness |
| Smooth direction | Lower roughness | Higher glossiness |
| Storage | Separate maps, packed channels, or constants | Separate maps, packed channels, or constants |
| Transfer check | Metallic channel and roughness mapping | Specular color and glossiness mapping |
Neither workflow requires five texture files. Uniform material properties can use constants. Memory use depends on texture resolution, compression, channel packing, and the target platform.
The core glTF metallic-roughness material uses base color and metallic-roughness parameters. The FindUtils previewer also uses this workflow. A project with a different shader needs its own import check.
Common PBR Mistakes (and How to Fix Them)
Even experienced artists make these errors. Catching them early saves hours of debugging in-engine.
Mistake 1: Baked Lighting in the Albedo Map
The most common PBR mistake is including shadows, highlights, or ambient occlusion in the albedo/base color map. In older (non-PBR) workflows, artists baked lighting into diffuse textures. In PBR, the renderer calculates all lighting dynamically. Baked-in shadows create double-shadowing and make materials look wrong when the light direction changes.
Fix: Check your albedo by viewing it on a flat, evenly lit surface. If you can see directional shadows or bright spots, remove them. Your albedo should look like a color swatch, not a photograph.
Mistake 2: Inverted Normal Map Green Channel
Using an OpenGL normal map in a DirectX engine (or vice versa) inverts the Y-axis of surface detail. Bumps appear as dents, and grooves appear as ridges. The material looks subtly wrong under dynamic lighting.
Fix: Flip the green channel in your image editor, or use the engine's normal map import settings to specify the convention. Test a known raised feature with controlled light direction and UV orientation. A normal map changes shading; it does not create geometric self-shadowing.
Mistake 3: Extreme Roughness Values
A constant roughness can be correct for an intentionally uniform material. It can also miss visible wear, fingerprints, or dust. Match the reference instead of rejecting all extreme or constant values.
Fix: Compare a uniform test material with a varied version under the same lighting. Keep changes that correspond to the reference. The illustrative ranges above are starting points, not a validation rule.
Mistake 4: Gray Values in the Metallic Map
A broad intermediate metallic value can hide a wrong material classification. However, mixed coverage and filtering can legitimately create intermediate values.
Fix: Identify exposed metal, paint, dirt, and corrosion separately. Use the appropriate response for each visible region. Preserve necessary transitions and filtered values instead of imposing a fixed pixel-width rule.
Mistake 5: Mismatched Texture Resolution
Using a 4K albedo with a 256px normal map creates an obvious quality mismatch. The surface color looks detailed but the lighting response looks blurry and flat. Different maps can use different resolutions when the visible detail and memory budget permit it.
Fix: Choose each resolution from the expected screen coverage and detail. Check the closest intended camera view. If you use the Image Compressor, compare a copy with the original; lossy changes can damage normal and packed data maps.
Find Texture Sources and Check the License
Poly Haven supplies texture assets under CC0. Its license page distinguishes the assets from site text, logos, and other protected content. Check that distinction before you redistribute a download package.
Other libraries include ambientCG, FreePBR, 3DTextures.me, and LotPixel. Check the license for the exact asset and download option. Do not assume that a free download permits resale, redistribution, or every commercial use.
For each downloaded set:
- Save the asset name, source URL, and license record.
- Identify the workflow and normal convention.
- Check which channels contain roughness, metallic, and occlusion values.
- Inspect the native files before you resize or compress them.
- Preview a copy, then test it in the target engine.
Use the Image Converter only when it supports the source format and required output. Preserve bit depth and data channels where the pipeline needs them. Keep the original texture files.
How to Test PBR Materials Online with FindUtils
FindUtils offers a free, browser-based PBR Material Previewer that lets you upload texture maps and see the result on a 3D shape in real time. The selected texture files load through local object URLs. Environment lighting can load a separate scene asset. Test only assets that your project permits in browser tools.
Step 1: Open the PBR Material Previewer
Navigate to the PBR Material Previewer. You will see a texture upload panel on the left and a 3D viewport on the right.
Step 2: Upload Your Texture Maps
Drag and drop or click to upload your texture maps into the five slots: Albedo/Color, Normal Map, Roughness, Metallic, and Ambient Occlusion. The tool accepts PNG, JPG, and WebP formats. Start with the albedo map to see immediate results, then layer in additional maps.
Step 3: Choose a Preview Shape
Select a shape that matches your use case. Use a sphere for organic or curved materials (skin, fabric, clay), a cube for architectural materials (brick, concrete, tile), a plane for ground/floor textures, or a torus for testing how the material wraps around complex curvature.
Step 4: Adjust Material Properties
Fine-tune the result using the control panel:
- Tiling (Repeat X/Y): Set to 2-4 to check if your texture tiles seamlessly
- Normal Intensity: Increase to exaggerate surface detail, decrease for subtlety
- Roughness: Set the scalar value when no roughness map is loaded
- Metallic: Set the scalar value when no metallic map is loaded
- Environment Lighting: Toggle HDR environment reflections on or off
Step 5: Inspect and Iterate
Click and drag to rotate the 3D preview. Scroll to zoom in for detail inspection. Right-click to pan. Look for tiling seams, normal map artifacts, and roughness inconsistencies. Go back to your texture authoring tool, fix any issues, and re-upload.
Choose a Preview or Authoring Tool
| Task | Suitable tool type | Required check |
|---|---|---|
| Inspect separate maps on a primitive | FindUtils PBR previewer | Correct slots, normal intensity, and tiling |
| Paint or bake new texture maps | A material authoring application | Export preset and source mesh |
| Check a complete asset | A model viewer or target engine | Mesh UVs, tangents, transforms, and material assignment |
| Confirm a game build | The target engine and device | Shader support, lighting, compression, and performance |
The FindUtils previewer displays materials; it does not paint textures or bake maps from a high-resolution mesh. A preview can reveal obvious seams or swapped inputs. It cannot prove that the final asset has the correct appearance or performance on every device.
Check the Target Engine
Unity
Choose the export preset for the actual render pipeline and shader. A shader that expects smoothness needs the appropriate inverse of roughness. If its input reads metallic texture alpha, pack smoothness, not the original roughness, into that channel.
Mark normal textures with the appropriate import type. Check the occlusion input and channel assignment. A preset for one Unity pipeline is not automatically correct for another.
Unreal Engine
Check the normal map convention at import. If you use a packed ORM image, connect R to occlusion, G to roughness, and B to metallic. That arrangement is a chosen packing scheme, not a requirement for every material.
Use a texture compression setting that suits the map and target platform. Inspect the built result before selecting a format from a generic recommendation.
Godot
Check the selected material’s roughness, metallic, and normal inputs. Confirm the normal convention and any channel selectors. Texture import and compression choices depend on the platform and renderer.
Three.js
MeshStandardMaterial uses metallic-roughness inputs. Its roughness and metalness factors multiply the sampled texture values. The maps do not simply replace those factors. The material reference also specifies the channels and normal-map behavior.
In the FindUtils previewer, each factor becomes 1 when its corresponding map is present. The scalar control appears when that map is absent. Match lighting, color management, and tone mapping before comparing the preview with another scene.
The Image Compressor can create delivery copies in its supported image formats. It is not a KTX2 texture encoder. Use a dedicated texture pipeline when the target requires GPU compression.
Tools Used in This Guide
- PBR Material Previewer -- Upload and preview PBR texture maps on 3D shapes in real time
- 3D Model Viewer -- View and inspect supported glTF and GLB model files with their materials
- 3D Geometry Visualizer -- Visualize geometric primitives and understand 3D coordinate systems
- Image Compressor -- Optimize texture file sizes for game builds and web delivery
- Image Converter -- Convert texture files between PNG, JPG, WebP, and other formats
- Image Color Extractor -- Extract dominant colors from reference photos for albedo color matching
Frequently Asked Questions
Does every PBR material need five maps?
No. A uniform material can use constant values. Normal and occlusion maps are optional inputs. Some shaders also support emission, transmission, clearcoat, or other properties.
Should metallic values always be exactly zero or one?
Use 0 for a pure dielectric region and 1 for exposed metal in a metallic workflow. Mixed pixels, filtering, and blended layers can produce valid intermediate values. Do not use a strict binary rule to remove those transitions.
Does a normal map change the silhouette?
A normal map changes the shading normal. It does not add geometry or change the silhouette. Use geometry or a suitable displacement method when the outline or geometric shadows must change.
Can I identify the normal convention from color alone?
Not reliably. Read the export preset or asset documentation. Test a known raised feature under controlled lighting. UV orientation and the tangent basis affect how a feature appears.
Why does a material look different in another viewer?
Check exposure, lighting, tone mapping, color space, map channels, and normal orientation. The same source files can produce different images under different renderer settings.
Can I use the preview for confidential textures?
The texture loader uses local object URLs for selected files. The scene can also load an environment asset. Follow your project’s rules for browser tools and confidential assets. Local texture loading is not a security audit of the complete browser session.
Does a smaller image file mean a smaller GPU texture?
Not necessarily. Download compression and GPU texture storage are different stages. Check the decoded dimensions, format, mipmaps, and runtime texture compression in the target engine.
Next Steps
Now that you understand PBR materials, put your knowledge into practice:
- Preview your textures instantly with the PBR Material Previewer -- upload maps and inspect them on 3D shapes
- View complete 3D models with applied materials using the 3D Model Viewer to see how textures look on actual game meshes
- Optimize texture file sizes for production builds with the Image Compressor -- compare smaller PNG or JPG copies with the source before use
- Explore 3D geometry fundamentals with the 3D Geometry Visualizer to understand coordinate systems and mesh primitives