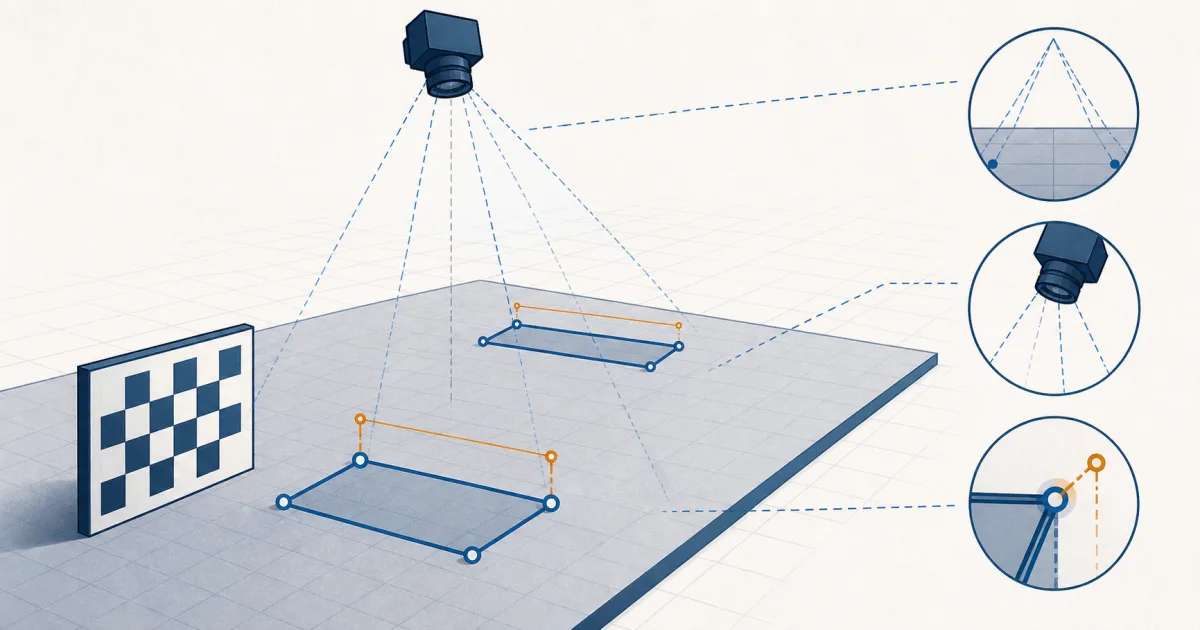
Photo measurements are useful only when the reference and target share the same image scale. Perspective, lens distortion, reference uncertainty, and endpoint placement can change the result. A precise pixel-to-length calculation does not correct a poorly calibrated photograph.
One Reference Creates One Scale
The method starts with a known length. If a 100 mm reference spans 500 pixels, the scale is 0.2 mm per pixel. A target spanning 750 pixels measures 150 mm.
This result is valid when the reference and target share the same image scale. A flat document photographed straight-on is a good case. A room scene with objects at different distances is not.
The Photo Measurement Tool makes the conversion consistent. The photograph decides whether the scale is meaningful.
Perspective Is a Scale Gradient
Move an object closer to the camera and it covers more pixels. Move it farther away and it covers fewer pixels. An angled table or wall therefore has a different scale near the camera than it does at the far edge.
Imagine a ruler at the front of a desk and a notebook near the back. If you calibrate with the ruler, the notebook can look too small. The arithmetic is correct for the ruler's depth plane, but the notebook is not on that plane relative to the camera.
The best correction is not a more complex formula. It is a better photograph:
- Put the reference beside the target.
- Keep both on the same flat surface.
- Center the camera above the surface.
- Move farther away and zoom optically when the lens creates strong edge distortion.
Endpoint Error Has a Predictable Pattern
Every line has a start and end point. A small placement error matters more on a short line than on a long one.
If a reference covers 40 pixels, a two-pixel endpoint error is large relative to its length. If it covers 800 pixels, the same two pixels have a much smaller effect.
This is why a long reference edge improves calibration. It is also why zoom helps. Zoom does not add image detail, but it makes endpoint placement easier.
The Reference Can Be Wrong
A familiar object is not always a reliable standard.
A card can use a different format. A printed page can be scaled. A coin can belong to another issue. A ruler can be photographed at an angle. A product listing image can be resized or composited.
Use a reference whose exact dimension you know. A custom measured reference is often better than an assumed standard object.
Lens Distortion Matters Near the Edges
Wide-angle lenses can bend straight lines and change local scale, especially near image corners. This effect is usually smaller than a severe depth or angle error, but it matters for close photographs and precision work.
Keep the reference and target near each other and near the image center. Retake the image from farther away when a phone's wide lens visibly stretches the edges.
A Control Measurement Is the Fastest Quality Check
After calibration, measure the reference again. This catches line-placement and size-entry mistakes.
Then measure another known distance near the target. If the second control is wrong, the image scale changes across the scene. Retake the photograph instead of adding false precision to the result.
Useful Precision Is Not Display Precision
A calculator can display many decimal places. The source image cannot support them automatically.
Report a result at a precision that matches:
- The reference certainty.
- The image resolution.
- The camera geometry.
- The edge clarity.
- The endpoint repeatability.
For a quick furniture check, a centimeter may be sufficient. For a machined part, a photo ruler is usually the wrong instrument.
Where Photo Measurement Works Well
Reference calibration works best for:
- Flat paper, labels, artwork, and craft patterns.
- Product parts arranged on one surface.
- Screen captures with a known scale.
- Quick fit checks when direct access is unavailable.
- Documentation that needs approximate 2D dimensions.
It works poorly for depth, curved paths, hidden surfaces, steep camera angles, and objects spread through a room.
A Better Workflow
- Put a long, known reference beside the target.
- Photograph the shared plane straight-on.
- Calibrate on the longest clear edge.
- Re-measure the reference as a control.
- Measure the target near the reference.
- Repeat the endpoint placement once.
- Report only useful precision.
This workflow does not make a phone camera into a metrology instrument. It makes a practical estimate more defensible.
Try It
Use the Photo Measurement Tool with a flat test object and a ruler. Compare the result with a direct measurement before you use the method on an unknown object.
For a full procedure, read the Photo Measurement Guide.