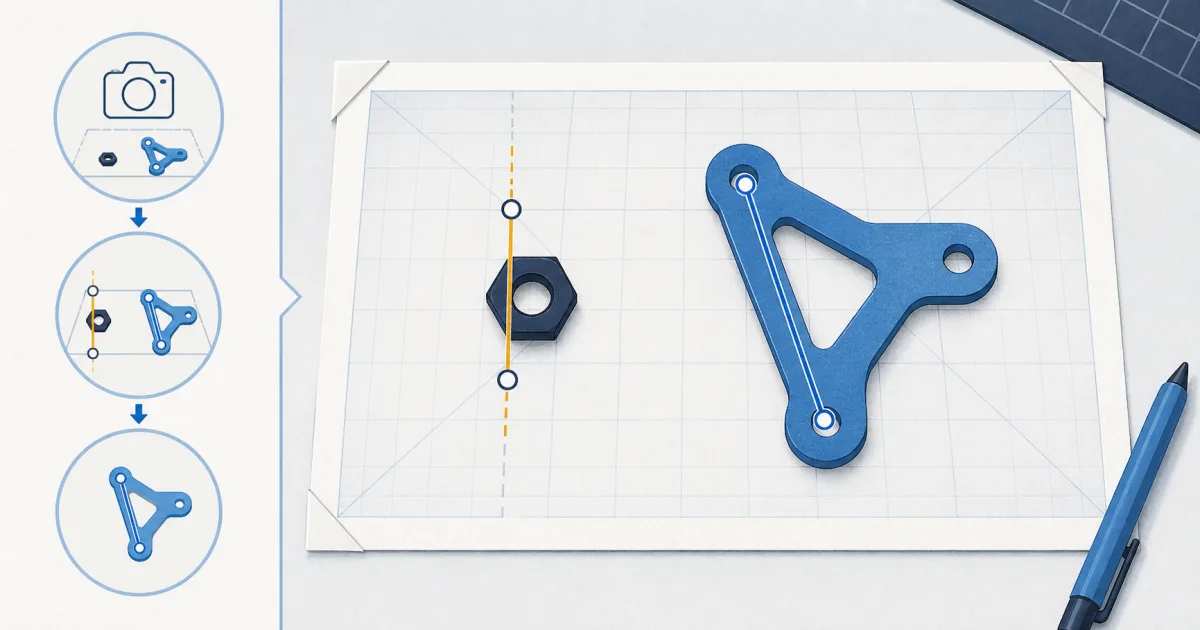
You can measure an object in a photo when the image also contains something with a known size. That known object gives you a scale: pixels per millimeter, centimeter, or inch. The FindUtils Photo Measurement Tool applies that scale to every line you draw.
The method is useful for flat objects, product photos, plans, craft patterns, and quick estimates. It is not a replacement for a survey, a medical measurement, or a calibrated industrial system. A single photograph loses depth, so camera position and object placement matter.
The Core Formula
Reference calibration uses a simple ratio.
scale = known reference length ÷ reference length in pixels
measured length = target length in pixels × scale
Suppose a reference edge is 85.6 mm long and covers 428 pixels. The scale is 0.2 mm per pixel. A target line that covers 600 pixels is therefore 120 mm long.
The arithmetic is simple. Most error comes from the photograph or from line placement.
What You Need Before You Start
Prepare these items:
- A clear image with visible edges.
- A reference object with a known dimension.
- A target and reference on the same flat plane.
- A camera angle that is close to perpendicular to that plane.
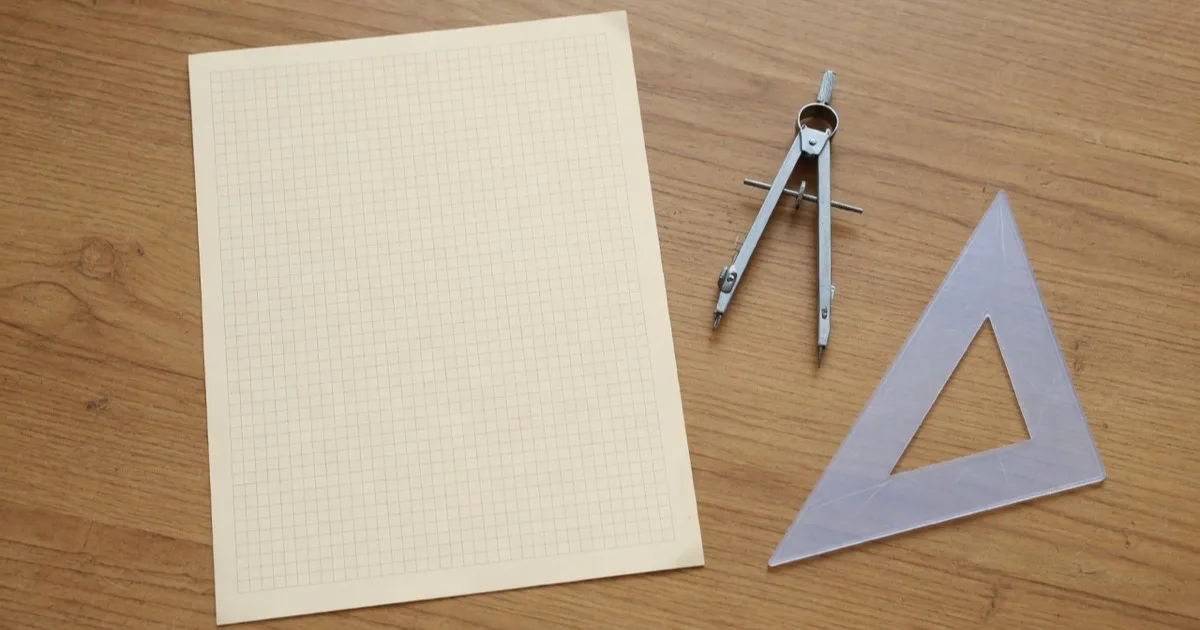
Good reference objects include a ruler, a sheet of standard paper, a card with confirmed dimensions, or a custom object you measured directly. Use the longest reliable edge that fits near the target. A longer calibration line reduces the effect of a one-pixel placement error.
How to Measure an Object in a Photo
1. Take or Choose the Right Photo
Place the target and reference beside each other. Keep both at the same distance from the camera. Use even light and avoid strong shadows over the edges.
Hold the camera directly above a flat subject when possible. A visible rectangle should look rectangular, not like a trapezoid. If parallel edges converge strongly, perspective distortion will change the scale across the image.
2. Load the Image
Open the Photo Measurement Tool. Upload, paste, or capture the image. The tool reads the photo in your browser.
3. Select the Reference
Choose a built-in reference or enter a custom size. Confirm which edge the stated size describes. A paper sheet has different width and height values. A coin diameter is not its circumference.
4. Draw the Calibration Line
Zoom in. Place the line endpoints on the exact ends of the known edge. Use the longest clear reference edge.
If the reference has a thick border, use the same boundary at both ends. Do not start on an outer edge and finish on an inner edge.
5. Draw Measurement Lines
Switch to measurement mode. Draw one line for each target dimension. Rename lines so the export remains clear, such as box width, slot spacing, or paper margin.
6. Check the Result
Measure the reference object again as if it were an unknown target. The result should match its known dimension closely. This quick control measurement detects a misplaced calibration line.
Measure a second known object when one is available. Place it near the target. A large difference usually shows perspective distortion or a reference on another depth plane.
7. Export the Measurements
Choose the required unit and export the result as JSON. The export preserves the measurement list for documentation or later comparison.
How Perspective Changes the Result
A single scale works only where image scale is effectively constant. That condition is strongest when the target and reference share one plane parallel to the camera sensor.
If the reference is closer to the camera, it appears larger. Calibration then makes the farther target look too small. If the target is closer, the result becomes too large.
Perspective also changes scale from one side of an angled surface to the other. A single reference cannot correct that projective distortion. Rectifying the plane requires multiple control points and a homography, which is a different workflow.
Accuracy Checklist
Use this checklist before you trust a result:
- The target and reference touch the same flat surface.
- The reference sits close to the target.
- The photograph is sharp and well lit.
- The camera faces the surface directly.
- The calibration line uses a long, confirmed dimension.
- The endpoints sit on consistent boundaries.
- A control measurement reproduces the reference size.
- The result has sensible precision for the image.
Do not report hundredths of a millimeter from an ordinary phone photo. More decimal places do not create more information.
Common Problems
Every Measurement Is Off by the Same Percentage
The reference size or calibration line is probably wrong. Confirm the selected edge and recalibrate.
Measurements Change Across the Image
The surface is angled or objects sit at different depths. Retake the photo straight-on and place the reference near the target.
Small Features Vary Too Much
The feature uses too few pixels. Move the camera closer, use a higher-resolution image, and calibrate with a long reference edge.
A Curved Object Measures Incorrectly
The tool measures the straight 2D projection visible in the image. It does not measure distance along a curve or around a 3D surface.
When to Use Another Method
Use a physical caliper for small precision parts. Use a tape measure or laser distance meter for rooms. Use photogrammetry or a calibrated multi-view system for 3D shape. Use professional metrology for safety, manufacturing tolerance, medical, or legal evidence.
Photo measurement is best for practical estimates and documented 2D dimensions when the photograph meets the calibration conditions.
FAQ
Can I measure an old photo without a reference object?
Not reliably from the image alone. You need a known dimension, trustworthy metadata, or another source of scale.
Can I use a credit card as the reference?
Yes, if you confirm its actual standard and use the correct edge. A ruler or custom measured object is better when exactness matters.
Does zoom change the measurement?
No. Zoom changes the display, not the underlying image coordinates. It helps you place endpoints more accurately.
Can I measure area or volume?
The tool measures line distances. Area needs a closed shape on the same calibrated plane. Volume needs depth information that one image does not contain.
Sources and Further Reading
- FindUtils Photo Measurement Tool
- OpenCV: Basic concepts of the homography explained with code
- FindUtils Unit Converter
Next Step
Open the Photo Measurement Tool, calibrate with a long known edge, and verify the scale with a control measurement.